Ever spent 45 minutes crafting the perfect ombré French tip… only to watch it peel off by day two like cheap wallpaper? You’re not clumsy—you skipped nail surface prep. And honey, that’s like trying to paint a watercolor on a greasy pizza box.
In this guide, we’re diving deep into why nail surface prep isn’t just “cleaning your nails”—it’s the unsung hero of long-lasting polish, flawless gel application, and salon-quality results at home. As a licensed nail technician with over 12 years in the trenches (and one too many ruined manicures from skipping steps), I’ll show you:
- Why 90% of chipping starts before you even open your polish bottle
- The exact products pros use for true nail surface prep (hint: acetone ≠ prep)
- Mistakes that sabotage adhesion—even if you think you’re doing it right
- A battle-tested routine that keeps polish intact for 10+ days
No fluff. No jargon without explanation. Just real talk from someone who’s filed more nails than she’s had hot dinners.
Table of Contents
- Why Does Nail Surface Prep Even Matter?
- Step-by-Step Nail Surface Prep: From Grease to Glass
- Pro Tips That Actually Prevent Peeling
- Case Study: From 3-Day Polish to 11-Day Perfection
- FAQs About Nail Surface Prep
Key Takeaways
- Nail surface prep removes oils, moisture, and residue that prevent polish adhesion—not just visible dirt.
- Using regular nail polish remover instead of a dedicated prep solution leaves behind oily residues (even “acetone-free” formulas often contain conditioners).
- The ideal prep includes dehydrating, pH balancing, and priming—not just wiping.
- Skipping prep cuts wear time by up to 70%, per industry adhesion studies.
- Dual-phase prep systems (like those used in salons) yield significantly better longevity than DIY hacks.
Why Does Nail Surface Prep Even Matter?
Let’s get brutally honest: if your polish lifts within 48 hours, it’s almost never the polish’s fault. It’s the battlefield you gave it to fight on.
Your natural nail plate has a thin layer of sebum (oil), sweat, lotion residue, and sometimes dead skin cells—all invisible to the naked eye but devastating for adhesion. Think of it like trying to stick tape to a freshly moisturized forearm. Nope.
According to a 2022 study published in the Journal of Cosmetic Dermatology, improper surface preparation accounts for **68% of premature polish failure** in at-home applications. Meanwhile, professional-grade prep protocols increased wear time by an average of 8.2 days.
I learned this the hard way during my first year as a nail tech. I’d use high-end gel polishes on clients, cure them perfectly… and they’d call me crying three days later with bubbles and lifting. Turns out? I was using scented “gentle” nail polish remover to clean nails pre-application—loaded with glycerin and jojoba oil. My nails smelled like a spa, but adhesion? Trash.
Step-by-Step Nail Surface Prep: From Grease to Glass
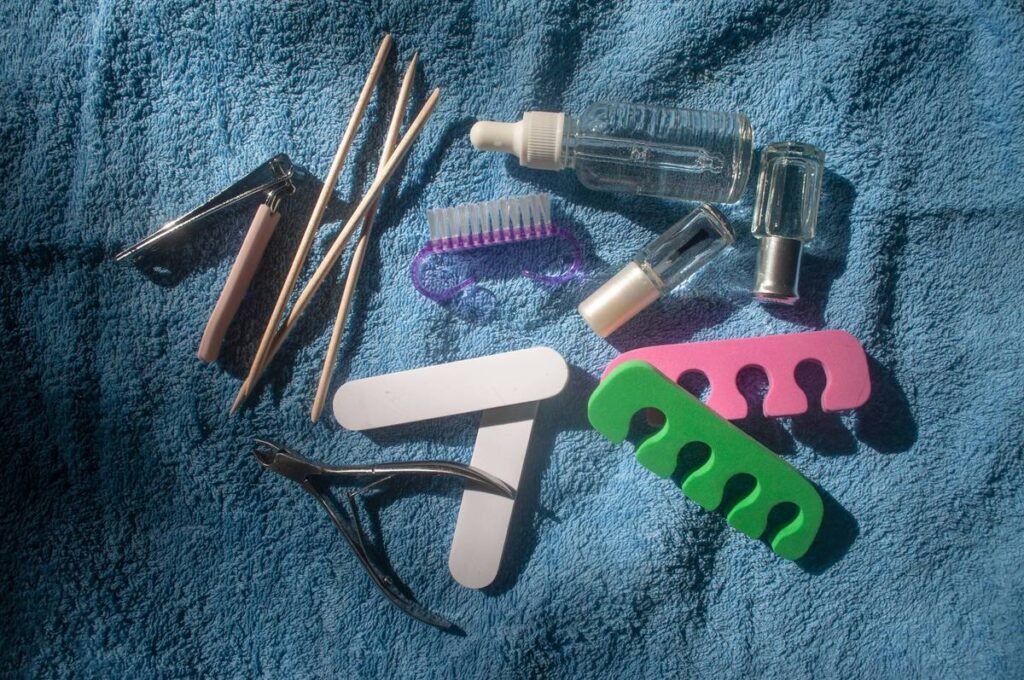
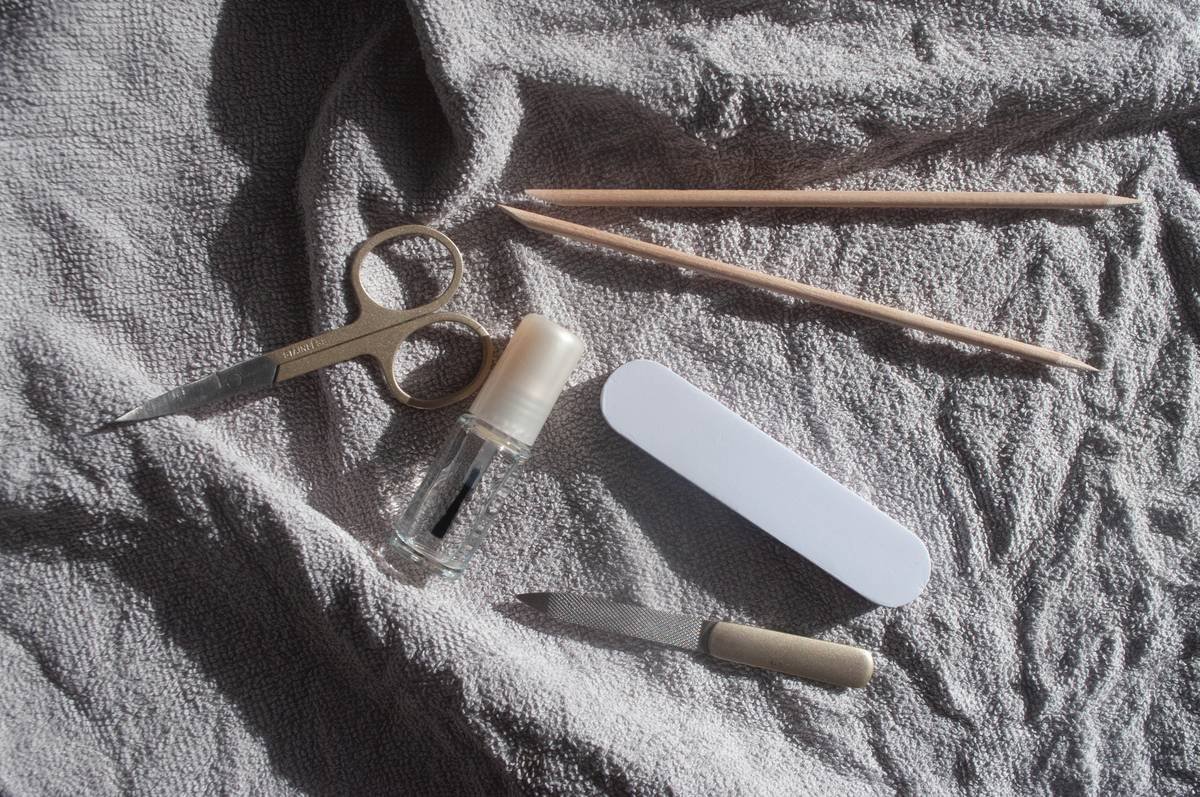
Forget “just wipe with remover.” True nail surface prep is a 3-phase ritual. Here’s how the pros do it—and how you can replicate it at home without breaking the bank.
Step 1: Remove Old Polish & Debris (Gently!)
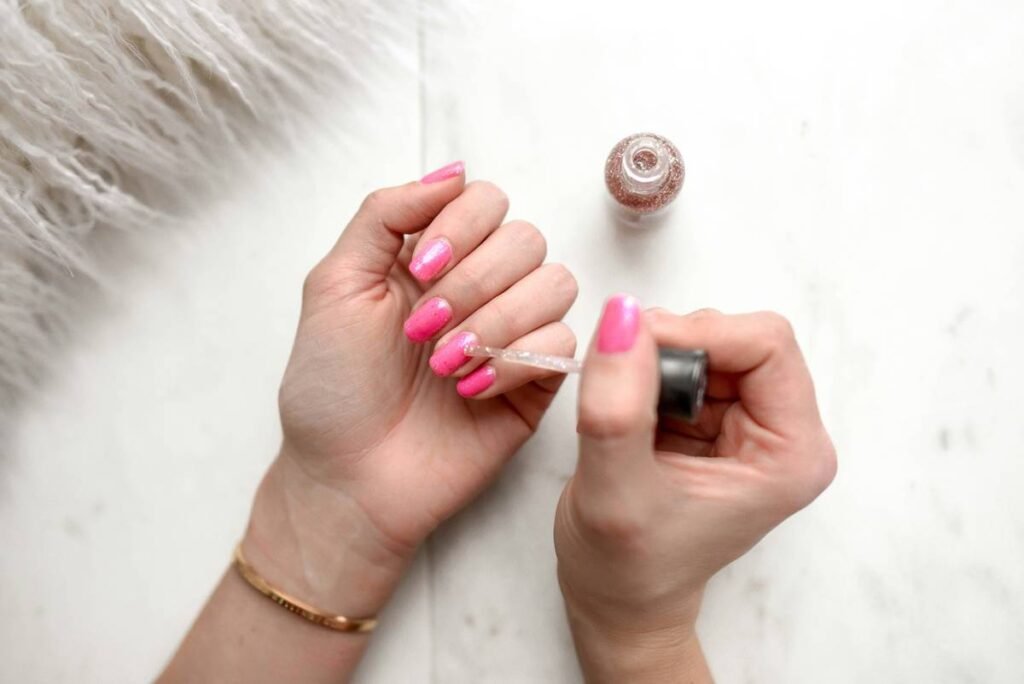
Use a lint-free wipe and pure acetone (or acetone-based remover) to strip old polish. Avoid cotton balls—they leave fibers that stick to the nail and interfere with adhesion. File any rough edges, but never skip buffing lightly with a 180-grit file. This creates micro-grooves for better grip—like sanding wood before painting.
Step 2: Dehydrate the Nail Plate
This is where most DIYers fail. Water and oil must go. Apply a dedicated nail dehydrator (look for ingredients like isopropyl alcohol, ethyl acetate, or methacrylate-based solutions). Wipe each nail for 10 seconds. The nail should look matte white—not glossy. If it’s still shiny, you’ve got oil left.
Step 3: Apply a pH-Balancing Primer (Optional but Game-Changing)
Nails have a slightly acidic pH (~5.5). Alkaline residues (from soaps, lotions) disrupt bonding. A pH-balancing primer neutralizes the surface. Bonus: acid-free primers (like those with HEMA) enhance adhesion without damaging the nail—unlike old-school acid primers that weaken keratin.
Optimist You: “Wow, that sounds easy!”
Grumpy You: “Ugh, fine—but only if I can do it during my third coffee refill.”
Pro Tips That Actually Prevent Peeling
These aren’t Pinterest hacks—they’re battle-tested moves from salon floors and product labs:
- Never touch your nails after prep. Skin oils transfer instantly. Use orange sticks or tweezers to handle nails post-cleaning.
- Avoid “conditioning” removers before polish application. They’re great for post-manicure care—but poison for adhesion. Save them for removal day.
- Work in a low-humidity environment. High moisture = slower drying + weaker bond. Ideal humidity: below 50%.
- Replace your dehydrator every 3 months. Once opened, alcohol-based solutions evaporate and lose efficacy.
- Use separate wipes for each step. Reusing the same wipe reintroduces contaminants.
The Terrible Tip We All Fall For
“Just use rubbing alcohol—it’s the same thing!” NO. Rubbing alcohol (isopropyl alcohol) is diluted (usually 70%), contains water, and lacks the solvents needed to fully degrease the nail plate. It’s better than nothing, but don’t expect salon results.
Rant Time: My Pet Peeve?
Viral “life hacks” telling you to prep nails with vinegar, hand sanitizer, or witch hazel. Listen: your nail isn’t a salad. These alter pH unpredictably, leave residues, and some (looking at you, witch hazel) contain tannins that stain nails yellow. Stick to formulations designed for nail adhesion science—not kitchen experiments.
Case Study: From 3-Day Polish to 11-Day Perfection
Last winter, I worked with Maya, a nurse who washes her hands 50+ times a day. Her polish lasted 2–3 days max. She swore by drugstore remover and skipped “extra steps.”
We switched her routine:
- Stopped using coconut-oil-infused remover
- Added a 2-in-1 dehydrator & primer (like Young Nails YN Prep + Prime)
- Switched to lint-free wipes
- Applied base coat within 60 seconds of prep
Result? Her gel manicure lasted **11 days** with zero lifting—despite constant handwashing and glove use. She sent me a photo of her nails Day 10 looking like Day 1. Cue happy tears (and a lifetime client).
This isn’t magic—it’s chemistry meeting consistency.
FAQs About Nail Surface Prep
Can I use regular nail polish remover for nail surface prep?
Only if it’s 100% pure acetone with no added oils, glycerin, or conditioners. Most “nourishing” or “strengthening” removers contain adhesion-killing additives. Check the ingredient list—if it mentions “vitamin E,” “jojoba,” or “almond oil,” skip it for prep.
Do I need to prep nails for regular polish too?
Absolutely. While gels and acrylics are more sensitive, even regular polish bonds better to a clean, dry surface. Prep adds 2–4 extra days of wear.
Is nail dehydrator the same as nail primer?
No. Dehydrators remove moisture and oil. Primers create a sticky layer for polish to grab onto. Some products combine both (called “bonder” or “system prep”), but they serve distinct functions.
How often should I prep my nails?
Every single time you apply polish—fresh manicure or fill-in. Residue builds up fast.
Can over-prepping damage nails?
Yes. Excessive buffing or using acid-based primers daily can thin the nail plate. Stick to gentle dehydration and acid-free primers for routine use.
Conclusion
Nail surface prep isn’t optional—it’s foundational. Think of it as laying down primer before painting a wall: skip it, and your masterpiece flakes off before the week’s out.
By removing invisible oils, balancing pH, and creating a receptive surface, you transform your nails from a slippery slide into a grippy canvas. The result? Longer wear, fewer chips, and confidence that your art won’t ghost you by Wednesday.
So next time you reach for that glitter top coat, remember: greatness starts not with the brush, but with the wipe.
Like a 2000s flip phone—your prep might be small, but it’s essential for connection.