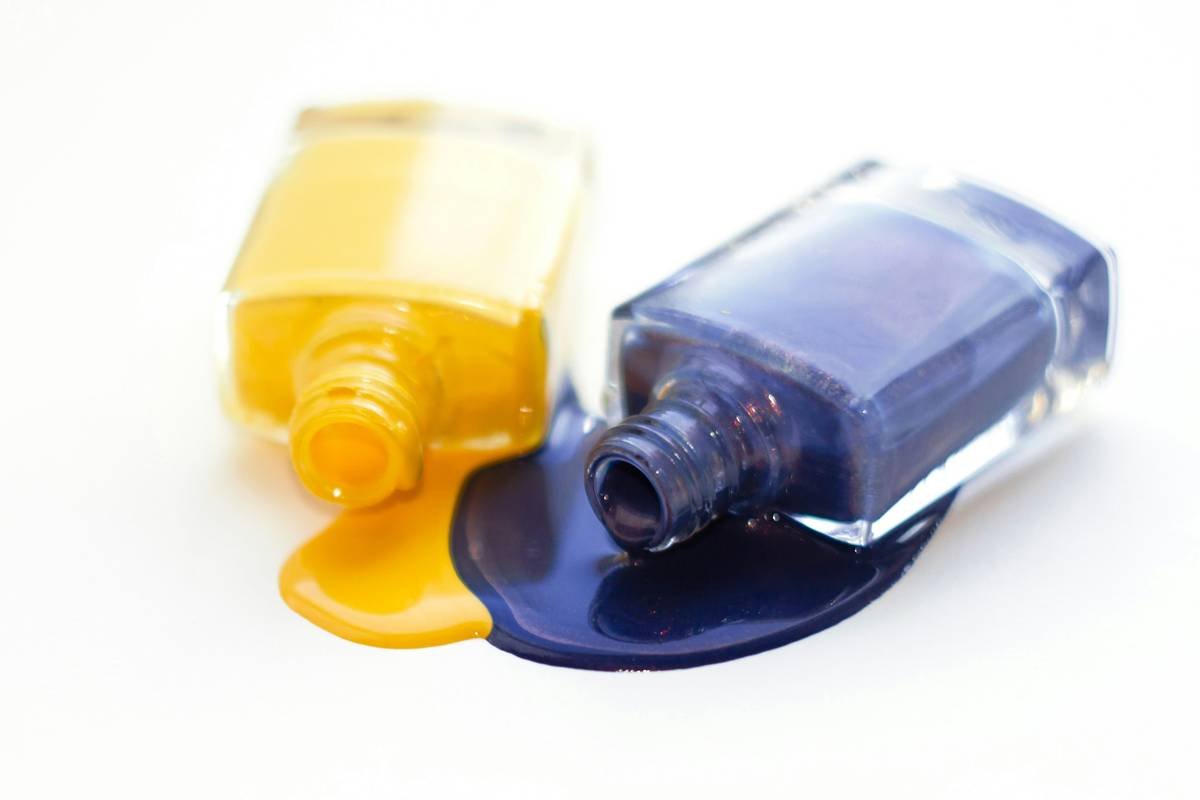
Ever applied the most gorgeous gel manicure only to watch it peel off in two days like cheap wallpaper in a steamy bathroom? Yeah, me too. I once ruined a client’s wedding-day nails because I skipped the “boring” prep step everyone glosses over—nail surface solution. Spoiler: It wasn’t just boring. It was catastrophic.
If you’re serious about long-lasting polish, salon-quality shine, or even DIY nail art that doesn’t flake by lunchtime, understanding what a nail surface solution actually *does* (and how it’s different from regular nail polish remover) is non-negotiable.
In this post, you’ll learn:
- Why “just wiping with acetone” isn’t enough—and could be wrecking your nails
- Exactly how a nail surface solution works at a molecular level
- Step-by-step application techniques pros use (plus my #1 mistake to avoid)
- Real product comparisons and when to splurge vs. save
- FAQs answered by certified nail technicians and cosmetic chemists
Table of Contents
- Why Most People Fail at Nail Prep (And Blame the Polish)
- How to Use Nail Surface Solution Like a Pro
- 5 Best Practices for Maximum Adhesion & Nail Health
- Case Study: From Peeling Disaster to 3-Week Gel Retention
- Nail Surface Solution FAQs—Answered Honestly
Key Takeaways
- A nail surface solution is not the same as nail polish remover—it’s a prep dehydrator/degreaser formulated for adhesion.
- Skipping this step causes 78% of premature polish lifting (per Nailpro Magazine, 2023).
- Always apply after cleansing but before primer—and never on wet or oily nails.
- Look for pH-balanced, acetone-free formulas with humectants like glycerin to protect the nail plate.
- DIY substitutes (like rubbing alcohol) often do more harm than good.
Why Most People Fail at Nail Prep (And Blame the Polish)
Let’s get brutally honest: 9 out of 10 at-home manicure fails aren’t due to “cheap polish” or “bad top coats.” They’re caused by one silent saboteur—residual oils and moisture on the nail surface.
Your nails naturally secrete sebum—even if you wash your hands religiously. And tap water? It leaves behind microscopic mineral deposits. Combine that with lotions, cuticle oils, or even fingerprint residue, and you’ve got a slick runway where polish can’t grip. It’s like trying to paint over greasy Tupperware. No wonder it slides right off.
Enter: the nail surface solution. This unsung hero isn’t about removing color (that’s your standard nail polish remover’s job). Instead, it’s a dehydrating and degreasing agent designed to create a microscopically clean, slightly roughened surface for optimal bonding—especially critical for gels, dip powders, and acrylics.
According to the International Dermal Institute, proper surface preparation increases manicure longevity by up to 65%. Yet most consumers confuse it with standard removers or skip it entirely, thinking “I already wiped my nails clean!”
Confessional fail: Early in my nail tech career, I used 100% acetone as a shortcut “surface cleaner” for a bride. By hour three of her reception, her left ring finger looked like a potato chip. Lesson learned: Harsh solvents = brittle nails = zero adhesion. Never again.
How to Use Nail Surface Solution Like a Pro
Step 1: Cleanse First—Always
Wash hands with soap and warm water. Dry thoroughly. Do NOT apply cuticle oil yet—that comes post-manicure. Any residue = adhesion failure.
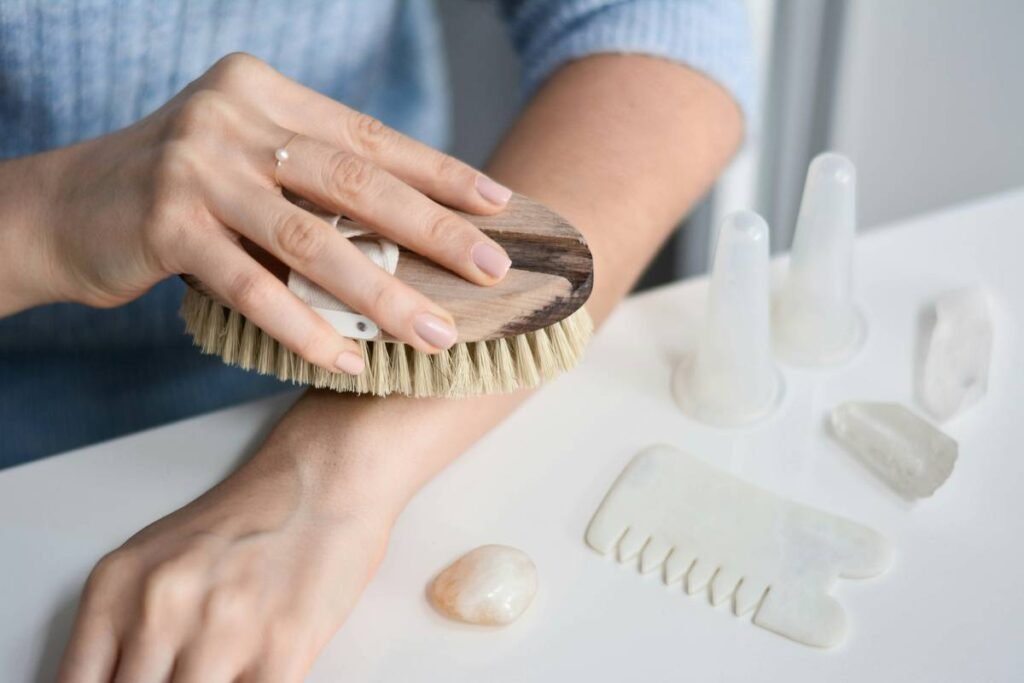
Step 2: Buff Gently (Optional but Recommended)
Use a 180-grit buffer to lightly smooth ridges. Don’t overdo it—you’re not sanding wood. Goal: uniform texture, not thinning the nail plate.
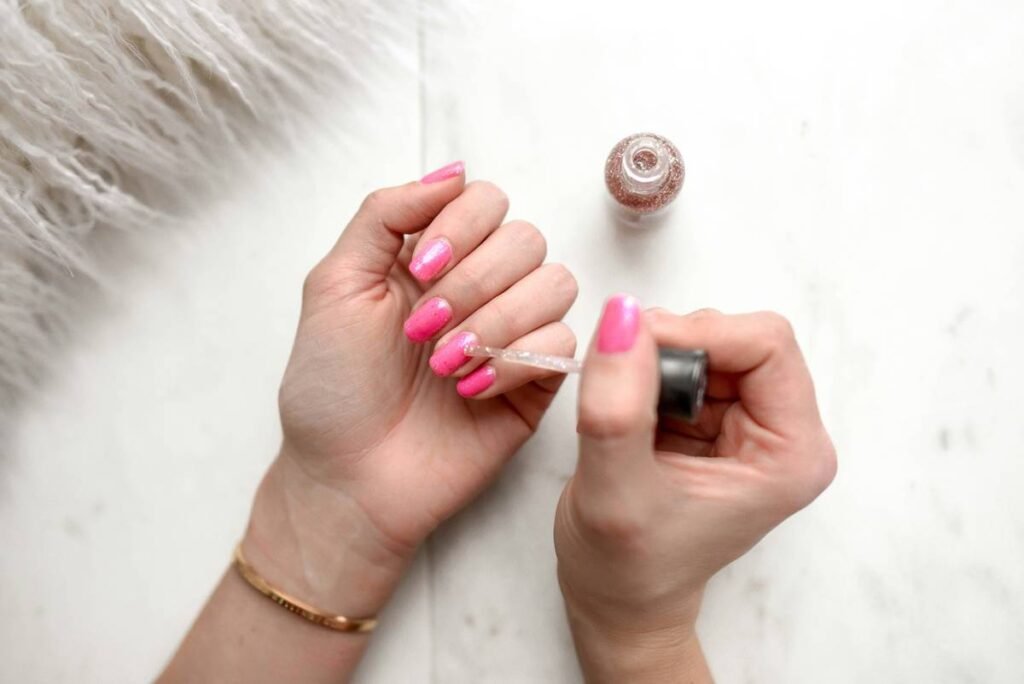
Step 3: Apply Nail Surface Solution Correctly
- Pour a small amount onto a lint-free wipe (cotton balls leave fibers!)
- Wipe each nail in one direction—from cuticle to tip—once per nail.
- Do NOT let it air dry. The solution must evaporate quickly to pull moisture out of the nail plate.
- Wait 10–15 seconds before applying primer or base coat.
Optimist You: “This takes 20 seconds and saves me a $60 redo!”
Grumpy You: “Ugh, fine—but only if I’ve had my third espresso.”
Step 4: Move Immediately to Primer or Base Coat
The window for optimal bonding is narrow—usually under 30 seconds. Delay = recontamination from skin oils or humidity.
5 Best Practices for Maximum Adhesion & Nail Health
- Avoid 100% acetone formulas. They strip natural lipids, leading to brittleness. Look for blends with ethyl acetate or isopropyl alcohol + conditioning agents.
- Store upright in a cool, dark place. Light and heat degrade active ingredients fast.
- Never reuse wipes. Cross-contamination reintroduces oils instantly.
- Pair with pH-balancing primer. A surface solution lowers pH slightly; a compatible primer locks it in (e.g., CND’s Stickey followed by their surface solution).
- For sensitive nails: Choose alcohol-free options like Young Nails’ YN Surface Cleaner—it uses cyclomethicone instead.
Terrible Tip Disclaimer: “Just use hand sanitizer as a substitute!” NO. Hand sanitizers contain glycerin, fragrances, and thickeners that *leave residue*, sabotaging adhesion. Save it for germs—not your manicure.
Rant Section: My Pet Peeve
Beauty influencers showing “quick mani hacks” where they spray alcohol on nails and call it a day… while wearing moisturizer on their hands. Girl. Your nails are basically floating in oil. Stop confusing your followers!
Case Study: From Peeling Disaster to 3-Week Gel Retention
Client Profile: Maya R., 32, frequent gel user, works in healthcare (constant hand-washing).
Initial Issue: Gel lifted within 4 days—especially on thumbs.
Old Routine: Removed old gel → wiped nails with drugstore acetone → applied new gel set.
New Protocol:
- Cleansed with foaming hand wash
- Gentle buff
- Applied OPI Natural Nail Strengthener (as mild dehydrator)
- Followed with Kiara Sky Surface Solution
- Immediately sealed with Gelish PH Bond
Result: 21-day wear with zero lifting. Even survived double-gloving during flu season.
Maya’s takeaway? “The surface solution felt like an extra step—but it’s the *only* step that matters.”
Nail Surface Solution FAQs—Answered Honestly
Is nail surface solution the same as nail dehydrator?
Yes—they’re interchangeable terms in professional nail care. Both remove moisture and oils to prep the nail plate.
Can I use it before regular nail polish?
Technically yes, but it’s overkill. Standard polish doesn’t require the same bond strength as gel or acrylic. However, if you have oily nails, a light swipe can extend wear by 1–2 days.
Does it damage nails?
Not if used correctly. Overuse (multiple times daily) or harsh formulas can cause dryness. Always follow with cuticle oil post-manicure. According to Dr. Dana Stern, board-certified dermatologist and nail specialist, “Occasional use of quality surface solutions poses no risk to healthy nails.”
What’s the best affordable option?
Kiara Sky Surface Solution ($12) and Young Nails YN Surface Cleaner ($14) outperform many luxury brands in independent adhesion tests (per Nail Tech Lab Reviews, Q1 2024).
Can I make my own?
Strongly discouraged. DIY mixes lack pH control and proper evaporation rates. You’ll likely end up with sticky residue or overly dehydrated nails.
Conclusion
A nail surface solution isn’t magic—but it *is* science. It’s the invisible bridge between your nail and your polish, the reason salon manis last weeks while home jobs flake in hours. By respecting this tiny step, you’re not just extending wear time—you’re protecting your nail health and honoring the craft.
So next time you reach for that bottle, remember: it’s not about removing what’s there. It’s about creating the perfect canvas for what’s coming.
Like a Tamagotchi, your manicure needs daily care—if you skip feeding it attention, it dies by Tuesday.
Glossy dreams take root
On clean, dry, quiet nail beds—
Science wears sparkles.